Team Management & Workspace Sharing
Learn how to invite team members to your Scoop account and share workspaces with them. This guide covers the two-level permission system, role management, and step-by-step instructions for team collaboration.
Overview
Scoop uses a two-level permission system to give you granular control over your team:
- Account-level access - Who is part of your team
- Workspace-level access - Which workspaces each team member can access
Prerequisites
To invite team members, you need:
- A Team or Enterprise account (not available on Free or Individual plans)
- Owner or Admin role on the account
Team account limits: Up to 25 team members
Inviting Members to Your Account
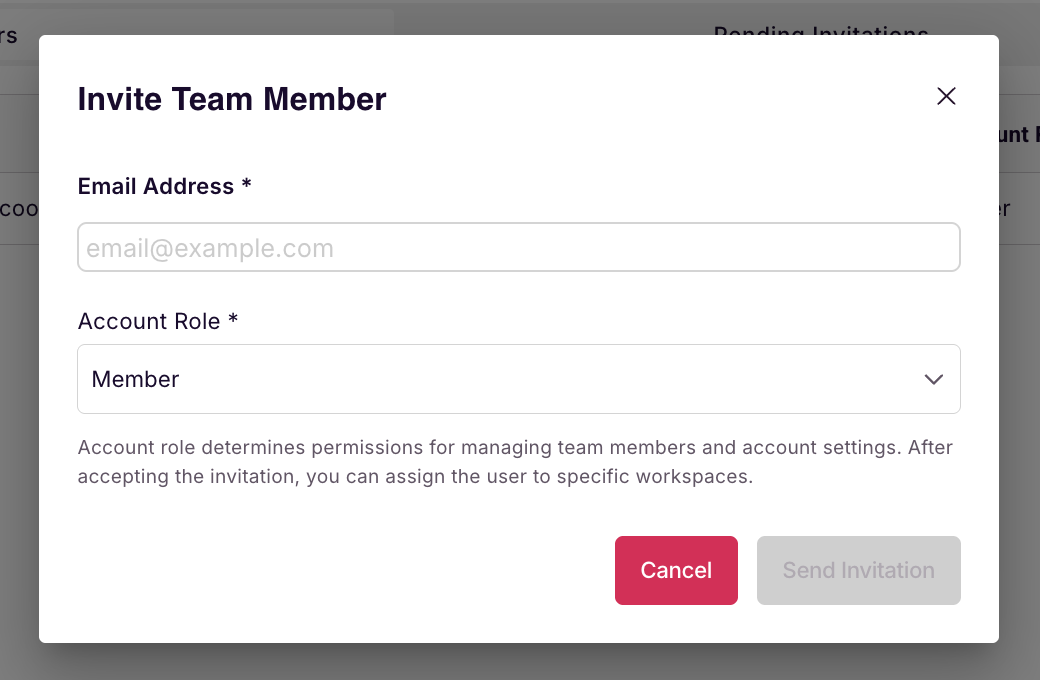
Step 1: Send the Invitation
-
Navigate to Account Settings

-
Click Invite Member
-
Enter the team member's email address
-
Select their role:
- Member - Standard access
- Admin - Can manage team and settings
-
Click Send Invitation
Step 2: Member Accepts Invitation
The invited person will receive an email invitation. When they click the link:
If they already have a Scoop account:
- They'll see the invitation acceptance screen
- Click "Accept Invitation"
- They'll be added to your team account
If they're new to Scoop:
- They'll be prompted to create an account first
- Enter their details and verify their email
- After account creation, they'll see the invitation acceptance screen
- Click "Accept Invitation" to join your team
- They'll then go through the standard onboarding flow
Sharing Workspaces with Team Members
After inviting someone to your account, you can give them access to specific workspaces.
Important Note
Adding someone to your account does not automatically give them access to your workspaces. You must share workspaces separately.
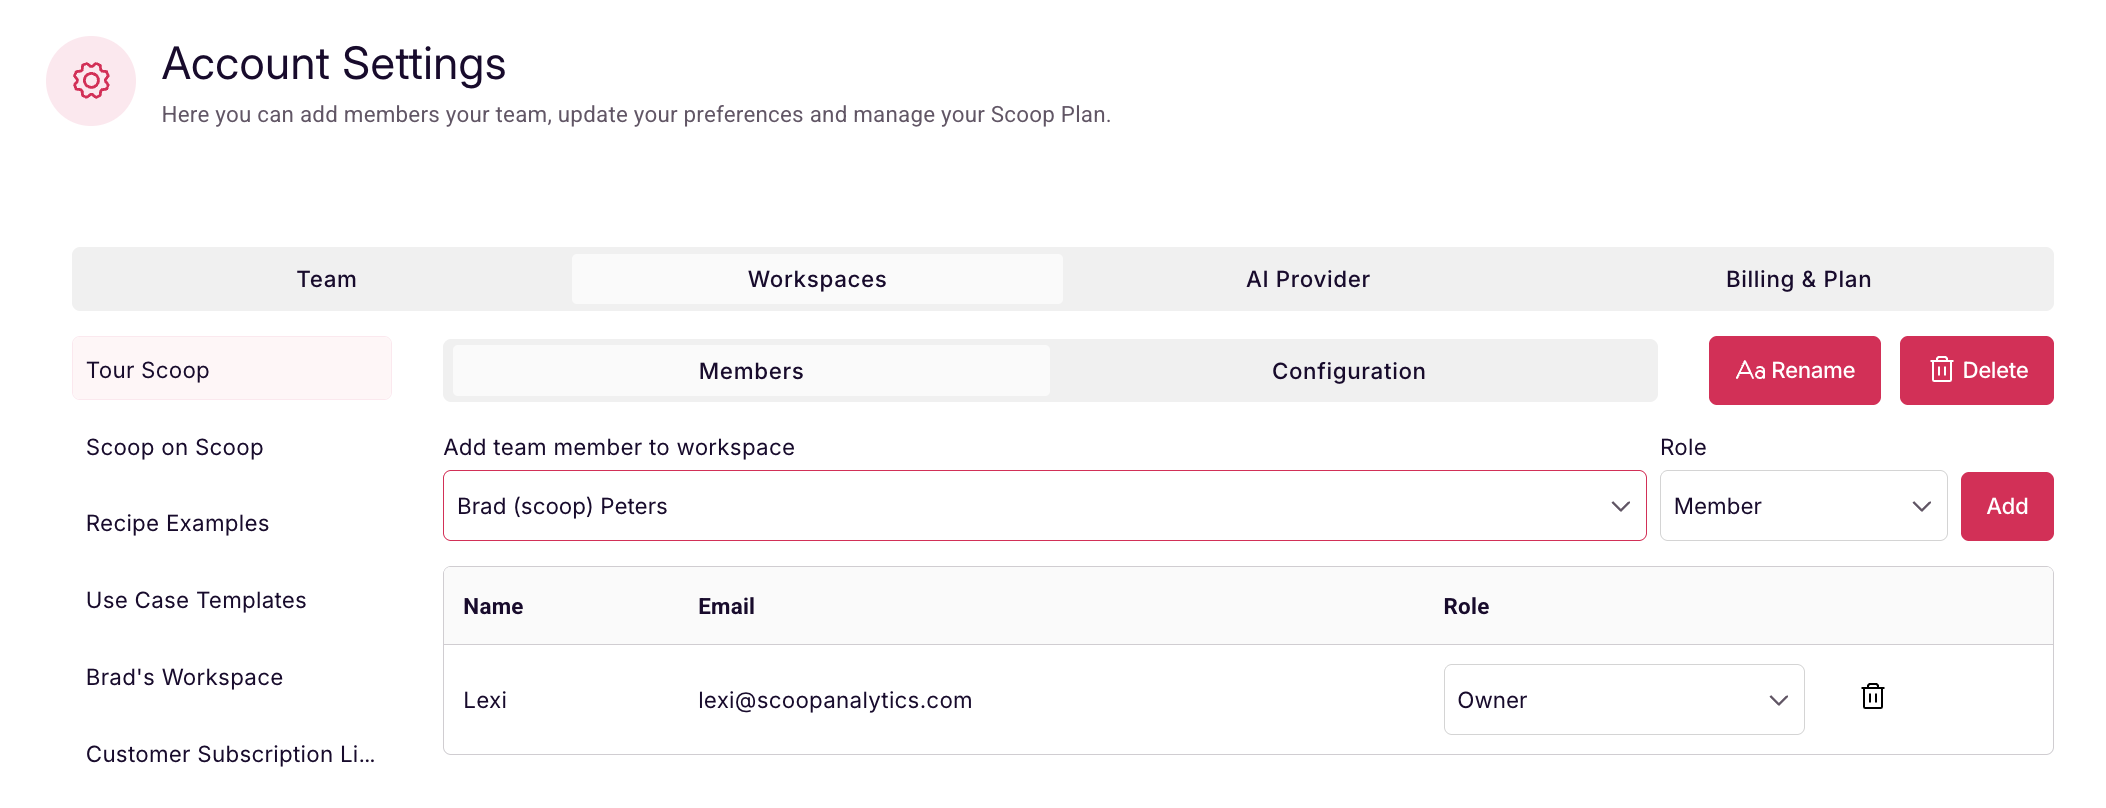
How to Share a Workspace
-
Go to Workspaces
-
Select the workspace you want to share
-
Click Share or Invite to Workspace
-
Select the team member from your account
-
Choose their workspace role:
- Member - Can view and collaborate
- Admin/Owner - Can manage workspace settings and invite others
Workspace Sharing Permissions
- Account Admins/Owners can share any workspace with any team member
- Workspace Owners/Admins can only share workspaces they own or admin
- Workspace Members cannot invite others to that workspace
Permission Levels Explained
Account Level
- Owner - Full control over account, billing, and all settings
- Admin - Can manage team members and account settings
- Member - Standard team member access
Workspace Level
- Owner - Created the workspace, full control
- Admin - Can manage workspace and invite members
- Member - Can access and work in the workspace, but cannot invite others
Common Workflows
Scenario 1: Adding a New Team Member
- Invite them to your account (Account Settings > Invite Member)
- They accept the invitation
- Share specific workspaces with them based on their role
Scenario 2: Giving Existing Team Member Access to a New Workspace
- Go to the workspace you want to share
- Invite the team member (they're already in your account)
- Set their workspace permissions
Scenario 3: Managing Multiple Workspaces
You can have different team members in different workspaces. This allows you to:
- Keep sensitive projects separate
- Organize teams by department or project
- Control who sees what information
Troubleshooting
Can't see "Invite Member" option?
- Check that you have a Team or Enterprise account (not Free or Individual)
- Verify you're an Owner or Admin of the account
Reached member limit?
- Team accounts support up to 25 members
- Enterprise accounts have higher limits
- Contact support to upgrade if needed
Can't share a workspace?
- Verify you're the Owner or Admin of that specific workspace
- Check that the person is already a member of your account
Updated 7 months ago